Recently, I completed a large data migration on the PhotoVoice Japan website. The purpose of this migration was to clean up existing content models and utilize Contentful’s locales feature to allow for cleaner and more efficient multi-language support. Thanks to Contentful’s use of multiple Environments within a project Space, this migration was quite straightforward.
Cloning your Existing Environment
Fortunately, Contentful offers a very generous free “Intro” space license. Under the Intro license we are allowed three environments.

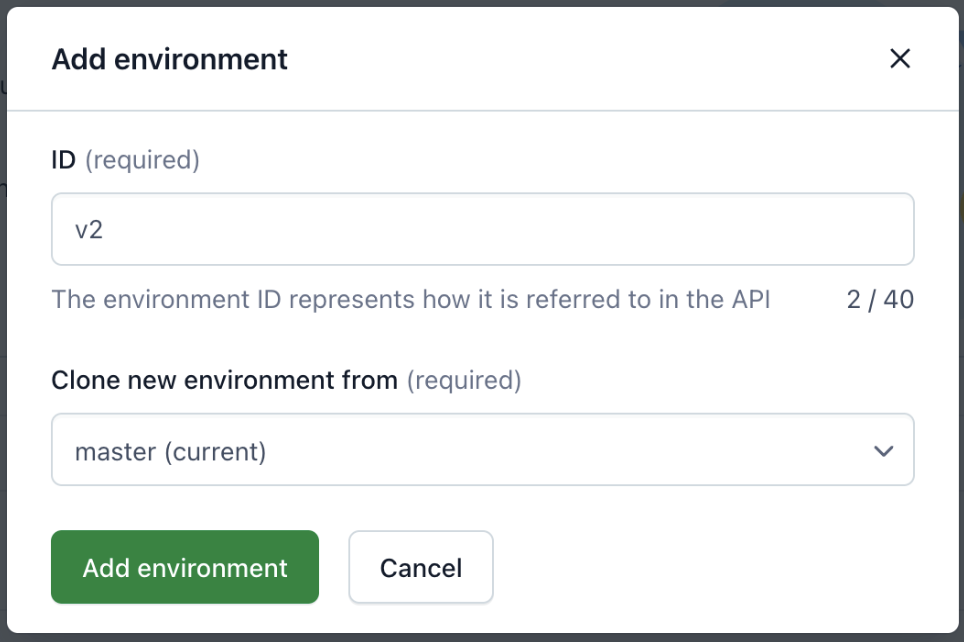
Having access to these multiple environments is what allows us to make a seamless data migration. In your current space you should already have one environment, something like “master”. To add a new environment, go to “Settings” in the top right corner and then select “Environments” from the dropdown. Next click “Add environment”. This should open a popup which asks you to name the new environment and also asks where you want to copy the new environments data from:

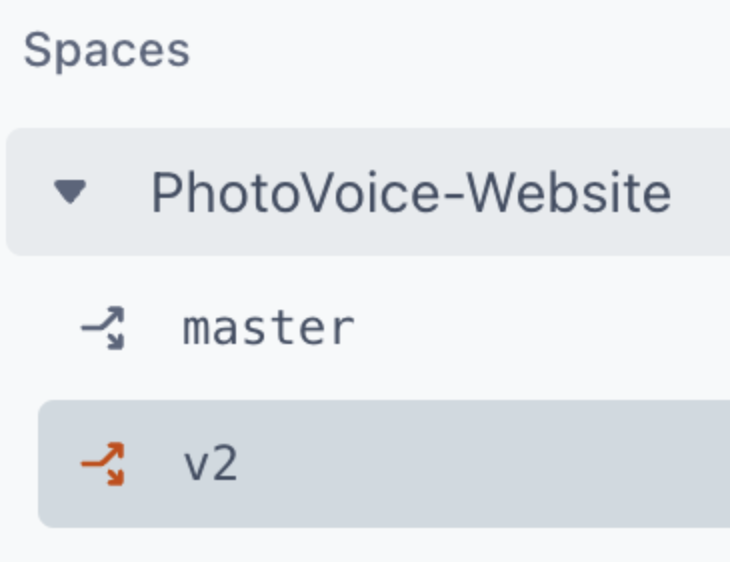
Cloning from the current environment gives us an exact copy of our existing data that we are free to modify without affecting the original environment. This means you will have new copies of both your entries and content types in the new environment. After adding the new environment, you can access it by clicking on your space name in the top left corner and selecting it:

Perform the Data Migration
Now that we have a new “v2” environment, we can make whatever changes we want to the content models. In my case, this involved cleaning up some fields on various content models and adding a new locale. Contentful’s free plan also allows you to utilize up to two locales. This feature can be accessed via “Settings” then selecting “Locales” from the dropdown menu. After adding the new locale and fixing the affected entries, we are ready to point our code to the new data.
Pointing Production to the New Environment
In order to get your code working with the new environment, we will need to update a few secrets as well as change some API token settings in the Contentful dashboard. First, go to “Settings” then “API keys” in the Contentful dashboard. Here, you may either create a new API key or provide your current development access token with access to the new environment. For my use case, I opted for the latter. In the specific access token settings, you will simply want to scroll down to the bottom and make sure both environments are enabled:

On the code side of things, you will need to update your “environment” value from “master” to “v2”. Assuming this value is not hard-coded, you will also want to make sure you update the environment string in your deployment pipelines. Once your API key has been updated with the new permissions and your code has been changed to point to the new environment, you should start seeing your site utilizing your “v2” entries and content models.
Take Advantage of Contentful Environments
Contentful environments are a powerful tool to update existing entries and content models without having to worry about affecting production data. Additionally, they allow you to keep around older versions of the data for future reference or revisions. Given that Contentful’s free plan also allows usage of up to three environments, there is no reason not to take advantage of this feature. Hopefully utilizing multiple Contentful environments will allow you to update the content on your site with confidence!